If your clutch pedal is down or soft it could be a lack of pressure in the hydraulic system (hydraulic system=fluid reservoir+slave cylinder+pipe+master cylinder ).
But this would be guessing an guessing with mechanic repairs is waste of time, energy and money.
1/ check the clutch fluid level in the reservoir > If level is low there might be a leak
2/ check for leaks around all connections of the hydraulic system. Clean up everywhere and give it another chance to leak (time or a little ride?) so it becomes visible.
If you find a leak there might be air in the system > This make the clutch hard to operate.
3/ Bleed the air from the system (it’s an easy task and this potential fault will be either fixed or ruled out).
For bleeding there are 2 ways :
1/pumping the clutch pedal method
2/using a one-man-bleeding kit
(google these or I can send you links on how to do this)
If bleeding doesn’t sort the problem out, it can be due to either the slave cylinder (at gearbox bell housing level) or the master cylinder (fluid reservoir level) or both. Although these 2 are strong and don’t usual fail. Mechanics often replace both. (BUT for us LDVers it can prove difficult to find the right part - but not impossible). Check out http://www.rimmerbros.co.uk (they stock rover parts which is what we have on our pilots SD1rover gearbox LT77 or R380 - check the manuals on LDV files).
If you need replacing parts you will first need to identify your gearbox (a ref number is stamped on it and you can cross reference it with manuals)
This is the easiest bits to do. As in where you don’t need to take the gearbox down to replace parts inside (although this is not very hard to do but more work).
The next easy is to check and replace the selector shaft yoke (although this is hard to find new).
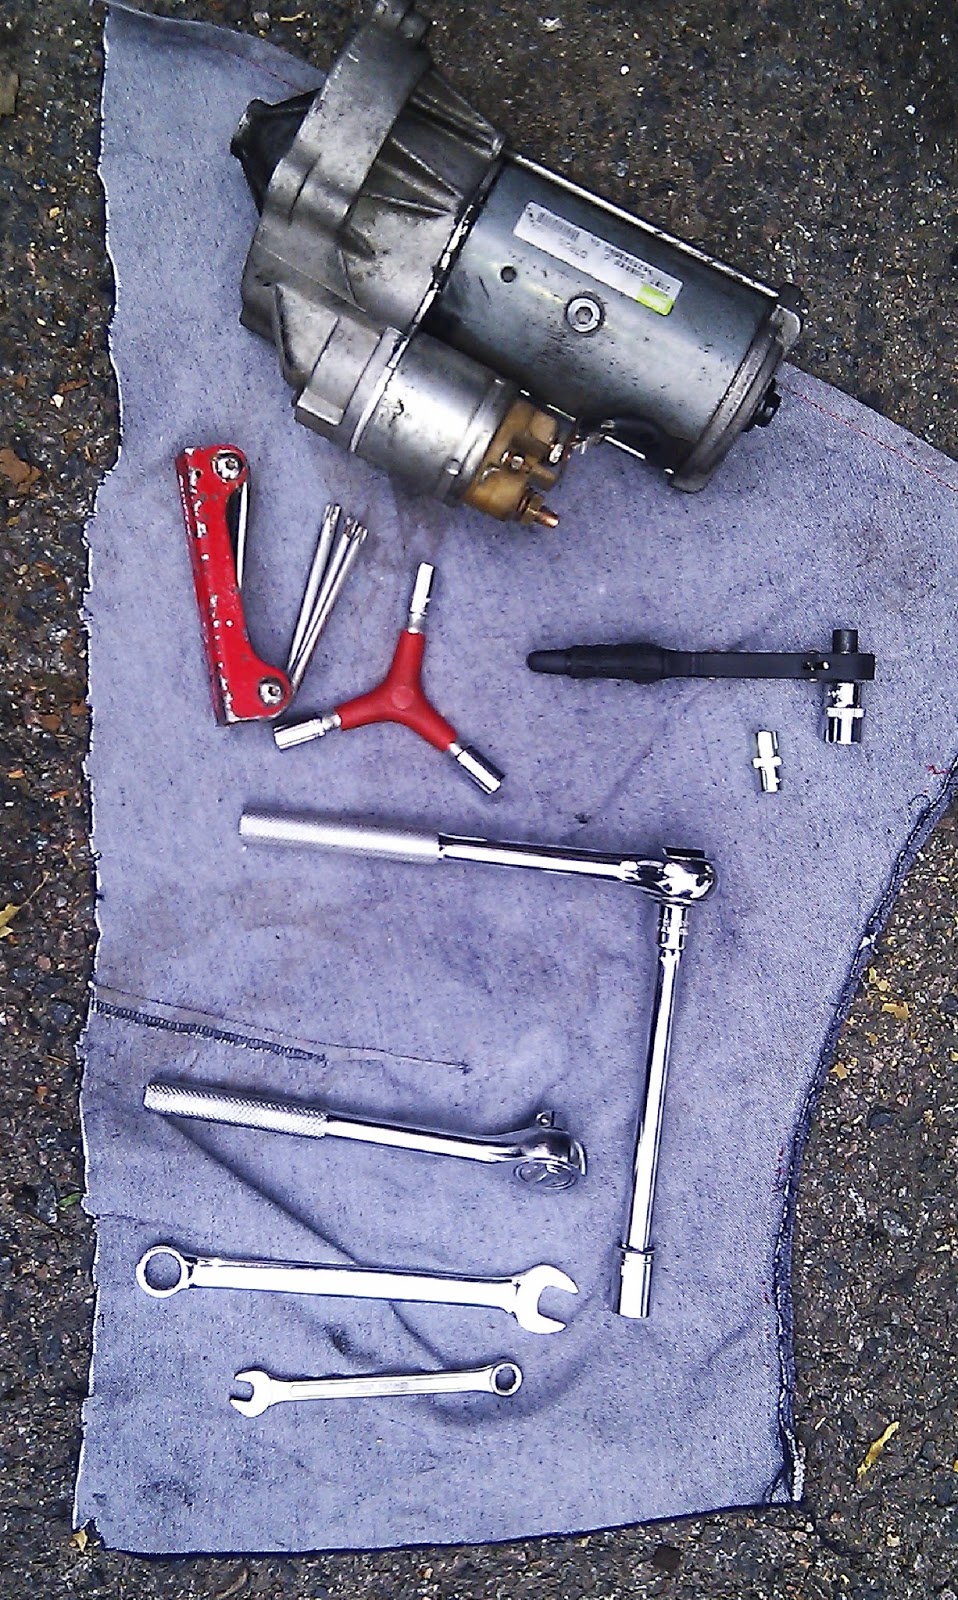
If the cylinders are ok, it can be the nylon bush in the selector shaft yoke (nylon wears off but you need replace the whole yoke as what Im holding on photo).
you might as well check the levels of AND replace the gearbox oil (with the correct one). I have a good link for a video on how to do this and which oil to use assuming your gearbox is a R380.
If none of these work out, It can also be the clutch arm pivot, the fork, or even the clutch disc that need replacement. All these are inside the gearbox.
That's a near enough diagram of your hydraulic system so you get an idea (I assume your Pilot is similar to mine from your photo).
*********
*********
note: I try the best I can to follow professional experienced mechanic guidance and advices but I'm NOT a qualified mechanic, this is what I figure out as I work on my vehicle using all available help around me, real people, written manuals, online videos etc)


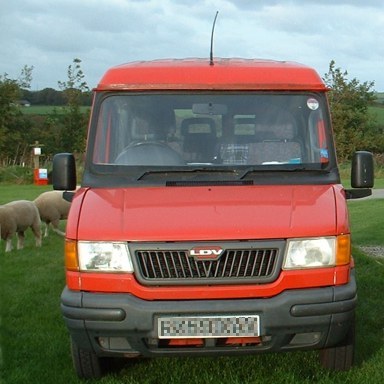
 LDV pilot - convoy
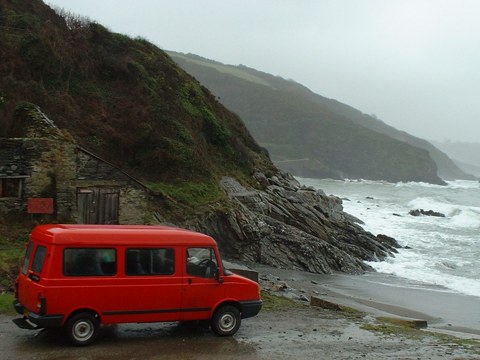