Wednesday, November 30, 2016

SOLD - PHOTOS 2003 LDV PILOT DIESEL panel/box van 2.5t - pug 1.9l dw8 engine mileage 61500 good runner

LDV Pilot van for sale

More photos of the "cute tank" as requested in trying to be as clear as possible.
After last night -3 degrees and the current weather, it started first time again today.

SOLD


Driver wheel arch rust.


Driver wheel arch close-ups rust on edges


Welded driver wheel arch.


Welded driver side floor.


Welded driver wheel arch.


Welded driver floor and step connection.


Roof gutter classic rust. Regularly treated with rust converter but never yet managed to do the hardening putty repair.


Body driver side customised grimace.


Left side rear light. Faith in Club LDV and gaffotape.


Working sliding door and 2 side windows at back.


 No more floor mat. Never replaced but can be with unicellular foam (easy to find online > thick gym mat etc.


new mirror glasses


Box interior (memory foam not for sale!)


Towball set up, some oil bottles (almost full and new), LDV specific tools, Diesel can + nozzle, small jack, 2 axle stands, club LDV manual CD, (high viz and triangle if ever going to France)...


Missing door cover.


Powerful new battery.


Steampunk patch #1


Steampunk patch #2


in cab water leak battle > windscreen rubber seal treated with the captain crack fluid (forgot the correct name of brand) + marine water-resistant sealant anywhere else possible 
> no more leak


Saturday, November 19, 2016

2003 LDV PILOT DIESEL panel/box van 2.5t @ £300 Or NEAR Offer pug 1.9l dw8 engine mileage 61500 good runner

Regretfully having to sell my LDV pilot van.

SOLD

LDV PILOT DIESEL 2003 panel/box van 2.5t
3 seats at front (none at back)
Rear doors and sliding side door
Engine:
Diesel Peugeot DW8 1.9l (30mpg)
Mileage>> 61500
MOT Expiry Date 14 march 2017 (4months)

Good runner, starts everytime, few parts changed wear & tear.
Good for camper project, first van/learn old school mechanics, workhorse.

Play in the steering despite replacing the power steering box and still has a fluid leak that I keep in check by using a thicker stop leak power steering fluid.

'Customised' (steampunk) aesthetic with some solid but patchy looking repairs to the passenger side corner bumper and top bonnet cover; some visible dents on driver side and rear doors; Rear passenger side light.

I also have SPARE PARTS (including original LDV parts), LDV specific tools (steering box pitman arm, gearbox oil nut socket...):
kingpins set, wheel hub bearings set, Radiator/heater water pipes and hoses, slave cylinder clutch, Glow Plug relay control unit, Set of sliding side door lock barrel+key

+ a couple of freebies (LDV Pilot workshop manual CD, EASYBLEED one man kit, extra wheel rim, oil bottles...)

and a very solid roof rack for an extra £100.

Currently SORN.
You will have to Tax it (and then insure it) BEFORE driving it away to be compliant with road law and for your own and other road users' safety. This might take TWO visits.

By law I |(regrettably) can not give you much of a test ride because of SORN,
however I will run the engine and you can try it within the yard and yard entrance.

It has been in use daily til last week.

RUST:
Due to legendary in cab leaks (now dealt with) > some rust but none on structural. Not problem for MOT.
See photos >> driver wheel arch and floor affected and welded. Some rust left on wheel arch's edge (could be fiberglassed patched).

I have added more pics in a new post.

SOLD


Selling as moved onto boat, have less use and currently can't afford to reinsure but need cash to build boat interior.

Very sad to have to let it go as I intended to keep and make it last forever as they can do if keeping on top of it.

Thursday, November 10, 2016

UK road tax 2017 changes

There is what is coming for you UK vehicle owner and driver.
Read more in this article of auto express.co.uk

To SORN or not to SORN?

Monday, September 26, 2016

Congestion Zone in London - The FOI request that exposes the handy racket business

There are big signs with big red 'C' letters to let you know you are driving into the zone.
However visible sometimes when we drive our attention is taken away on our driving and we miss a big sign. This happens a lot when driving in big cities and even more to those who come rarely to such big city.
A number of people who are unsure whether they went inside the zone decide to pay the charge rather than face a fine. In other words some people pay the charge although they didn't drive in the zone.
There is no system in place for TFL (transport for london) to be able to tell whether a car has been driven inside the zone or not; except when issuing the fine.

The FOI request is a compelling read on the subject.


******

[Internet quote:]
"It is well enough that people of the nation do not understand our banking and monetary system, for if they did, I believe there would be a revolution before tomorrow morning."
Henry Ford.

Wednesday, September 21, 2016

A trip from UK to Mongolia in an ex Postie LDV Pilot van!

A good watch with this documentary about a trip from UK to Mongolia in an ex Postie LDV Pilot van! Enjoy! May it inspire you and make you laugh.


Friday, August 19, 2016

A procedure to help you fault find your gearbox & manual transmission problem(s)

Gearstick stiff? Gears Not engaging? Soft clutch pedal?

If your clutch pedal is down or soft it could be a lack of pressure in the hydraulic system (hydraulic system=fluid reservoir+slave cylinder+pipe+master cylinder ). 

But this would be guessing an guessing with mechanic repairs is waste of time, energy and money.

1/ check the clutch fluid level in the reservoir > If level is low there might be a leak

2/ check for leaks around all connections of the hydraulic system. Clean up everywhere and give it another chance to leak (time or a little ride?) so it becomes visible.

 If you find a leak there might be air in the system > This make the clutch hard to operate.

3/ Bleed the air from the system (it’s an easy task and this potential fault will be either fixed or ruled out).
For bleeding there are 2 ways : 
1/pumping the clutch pedal method
2/using a one-man-bleeding kit
(google these or I can send you links on how to do this)

If bleeding doesn’t sort the problem out, it can be due to either the slave cylinder (at gearbox bell housing level) or the master cylinder (fluid reservoir level) or both. Although these 2 are strong and don’t usual fail. Mechanics often replace both. (BUT for us LDVers it can prove difficult to find the right part - but not impossible). Check out http://www.rimmerbros.co.uk (they stock rover parts which is what we have on our pilots SD1rover gearbox LT77 or R380 - check the manuals on LDV files).
If you need replacing parts you will first need to identify your gearbox (a ref number is stamped on it and you can cross reference it with manuals)

This is the easiest bits to do. As in where you don’t need to take the gearbox down to replace parts inside (although this is not very hard to do but more work).

The next easy is to check and replace the selector shaft yoke (although this is hard to find new).
If the cylinders are ok, it can be the nylon bush in the selector shaft yoke (nylon wears off but you need replace the whole yoke as what Im holding on photo).

you might as well check the levels of AND replace the gearbox oil (with the correct one). I have a good link for a video on how to do this and which oil to use assuming your gearbox is a R380.

If none of these work out, It can also be  the clutch arm pivot, the fork, or even the clutch disc that need replacement.  All these are inside the gearbox.


That's a near enough diagram of your hydraulic system so you get an idea (I assume your Pilot is similar to mine from your photo).


*********
*********
note: I try the best I can to follow professional experienced mechanic guidance and advices but I'm NOT a qualified mechanic, this is what I figure out as I work on my vehicle using all available help around me, real people, written manuals, online videos etc)

Wednesday, August 17, 2016

Dim-dip lamps

Looking into the electrics manual of the LDV pilot van I had to check out what "Dim-dip" meant... Wikipedia holds the answers... "Dim-dip lamps UK regulations briefly required vehicles first used on or after 1 April 1987 to be equipped with a dim-dip device[37] or special running lamps, except such vehicles as comply fully with UN Regulation 48 regarding installation of lighting equipment. A dim-dip device operates the low beam headlamps (called "dipped beam" in the UK) at between 10% and 20% of normal low-beam intensity. The running lamps permitted as an alternative to dim-dip were required to emit at least 200 candela straight ahead, and no more than 800 candela in any direction. In practice, most vehicles were equipped with the dim-dip option rather than the running lamps.[37] The dim-dip systems were not intended for daytime use as DRLs. Rather, they operated if the engine was running and the driver switched on the parking lamps (called "sidelights" in the UK). Dim-dip was intended to provide a nighttime "town beam" with intensity between that of the parking lamps commonly used at the time by British drivers in city traffic after dark, and dipped (low) beams; the former were considered insufficiently intense to provide improved conspicuity in conditions requiring it, while the latter were considered too glaring for safe use in built-up areas. The UK was the only country to require such dim-dip systems, though vehicles so equipped were sold in other Commonwealth countries with left-hand traffic.[38] In 1988, the European Commission successfully prosecuted the UK government in the European Court of Justice, arguing that the UK requirement for dim-dip was illegal under EC directives prohibiting member states from enacting vehicle lighting requirements not contained in pan-European EC directives. As a result, the UK requirement for dim-dip was quashed.[37] Nevertheless, dim-dip systems remain permitted, and while such systems are not presently as common as they once were, dim-dip functionality was fitted on many new cars well into the 1990s. The Jaguar XJS used this system, including the final Celebration models produced up until 1995" source: wikipedia article

Tuesday, July 12, 2016

Battery university

My van has a Blue Varta E11 74aH 680cca.
I just wanted to say it.

It has forced me to learn about electrics.
It's become a love/hate relationship.
I'm still the boss.
But... I had to shut up, be a good boy and learn so I don't become a 'part changer'.
Anyway these are two of the not so common bits I learned about car batteries.

12V batteries can have 'shorts' in themselves. Check out the video by mr-fix below.


"Check if your cars battery drain is caused by short circuit. Dirt, grease and moisture can create conductive layer that will slowly kill your cars battery, cause bad engine start or low voltage in the system.
Watch this tutorial and check your cars battery. It's quick and simple, you don't need to visit dealer or service. All you need for this test is a multimeter." written by mr-fix.

Full power accessories and short distance driving habits cause battery failures.
This article explains in detail what causes such battery failure that is not often talked of.
It is definitely a recommended reading to anyone who has been scratching their head for over 3 hours of poking around in the hope of reviving a no starter vehicle.

Battery University: "What causes car batteries to fail?"
Here is an excerpt:

"The battery remains a weak link and the breakdowns on 1.95 million vehicles six years or less are as follows:


  • 52% battery
  • 15% flat tire
  • 8% engine
  • 7% wheels
  • 7% fuel injection
  • 6% heating & cooling
  • 6% fuel system

A breakdown due to the battery remains the number one cause.
* Source ADAC 2008 for the year 2007"

Sunday, June 26, 2016

Another rainy day and a van not starting

It happened again.
Today (2 months later) after the van having sat under torrential rains for a couple of days, it refused to start and displayed the same symptoms: glowplugs get on but a clicliclic noise and no start + funny warning lights going on by itself for a while.

I was wrong. It never was the battery neg earth connection.

I swapped my glowplugs control and relay for a tested one so it is not the cause.
Ii looks more like it is due to a faulty relay (probably the warning lights one).
I am gonna do a thorough check of all relays and replace the bugger one.
For the time being I'll have to try to park on the other side of the vehicle because I believe when the road is bent and the van lean on the left, the rain water drips in and humidity accumulates, causing the relay to malfunction.
The van starts fine after a while (me doing long parasitic test, checking and wiping the relays and looking for the fault every possible where), hence that relay must be drying and when it's dry, everything is fine.

The video below is (imho) the best and most complete one on the topic on the tube.


[UPDATE]
It seems I have found the culprit.


I forgot that it's good practice to do as much diagnosing from the cabin.
I should have started there, with all doors shut.
I noticed that the driver's side indicator flashlight was flashing faster than the passenger's side.


The sound was similar to the one I heard from the relay.
I remember that touching the light bulb fitting once made something react when I was trying to figure out what was going wrong from the bonnet side.
So it clicked. I mean it clicked in my head.
and the friend who was my passenger at the time said it:
"you have a dead bulb".
I checked and he was correct.


It wasnt the earth, it wasn't the rain.
It was a defectuous old bulb that caused the circuit to disfunction.
It's replace with a new one now.
Let's see if anything else comes up!


Thursday, May 19, 2016

LDV convoy vans in London

Did you know there is an area full of LDV convoys in London?
North east london it is. This is home of the hasidic jewish community whose members own convoys for group transport (schools etc). They are really all over. They (the community members not the convoys) always look at my little pilot suspiciously or enviously when I go around there. There was one for sale lately but I didn't have a camera phone at the time. Now I was given one and there was only this blue beauty for sale!


Tuesday, May 3, 2016

A procedure to remove Burman 30-370 steering box on LDV Pilot 2003 (400 serie with DW8 peugeot engine)

Pilots' pilots.
Here is my two cents procedure and suggestions to remove your steering box on your own.
This is a long post so here is the start of it and I'll finalise it when I'll get more time.

Tools


  • Jack
  • 3 axle stands (one to support engine)
  • copper hammer
  • pitman arm puller
  • ratchet
  • 3/4W socket [drop arm]
  • 22mm socket [tie rod end]
  • lump hammer
  • 13mm spanner/socket
  • 14mm socket
  • 17mm spanner
  • 10mm
  • hex key [vaccum pump]
  • oil cap and container
  • tipex corrector
  • manuals (available free on LDV files)

First and foremost, immobilise your vehicle properly and don't go under until it's firmly and steadily set up on axle stands on a flat surface because since you have a van there are people who need you and they won't like you anymore if you are as flat as a pancake because it dropped onto your face as you were working under it to repair it. Stay in shape, make it stable!

Lift up front of van high as to have enough room for arm movements.
Take off driver side wheel.
Take down tie rod end from drop arm
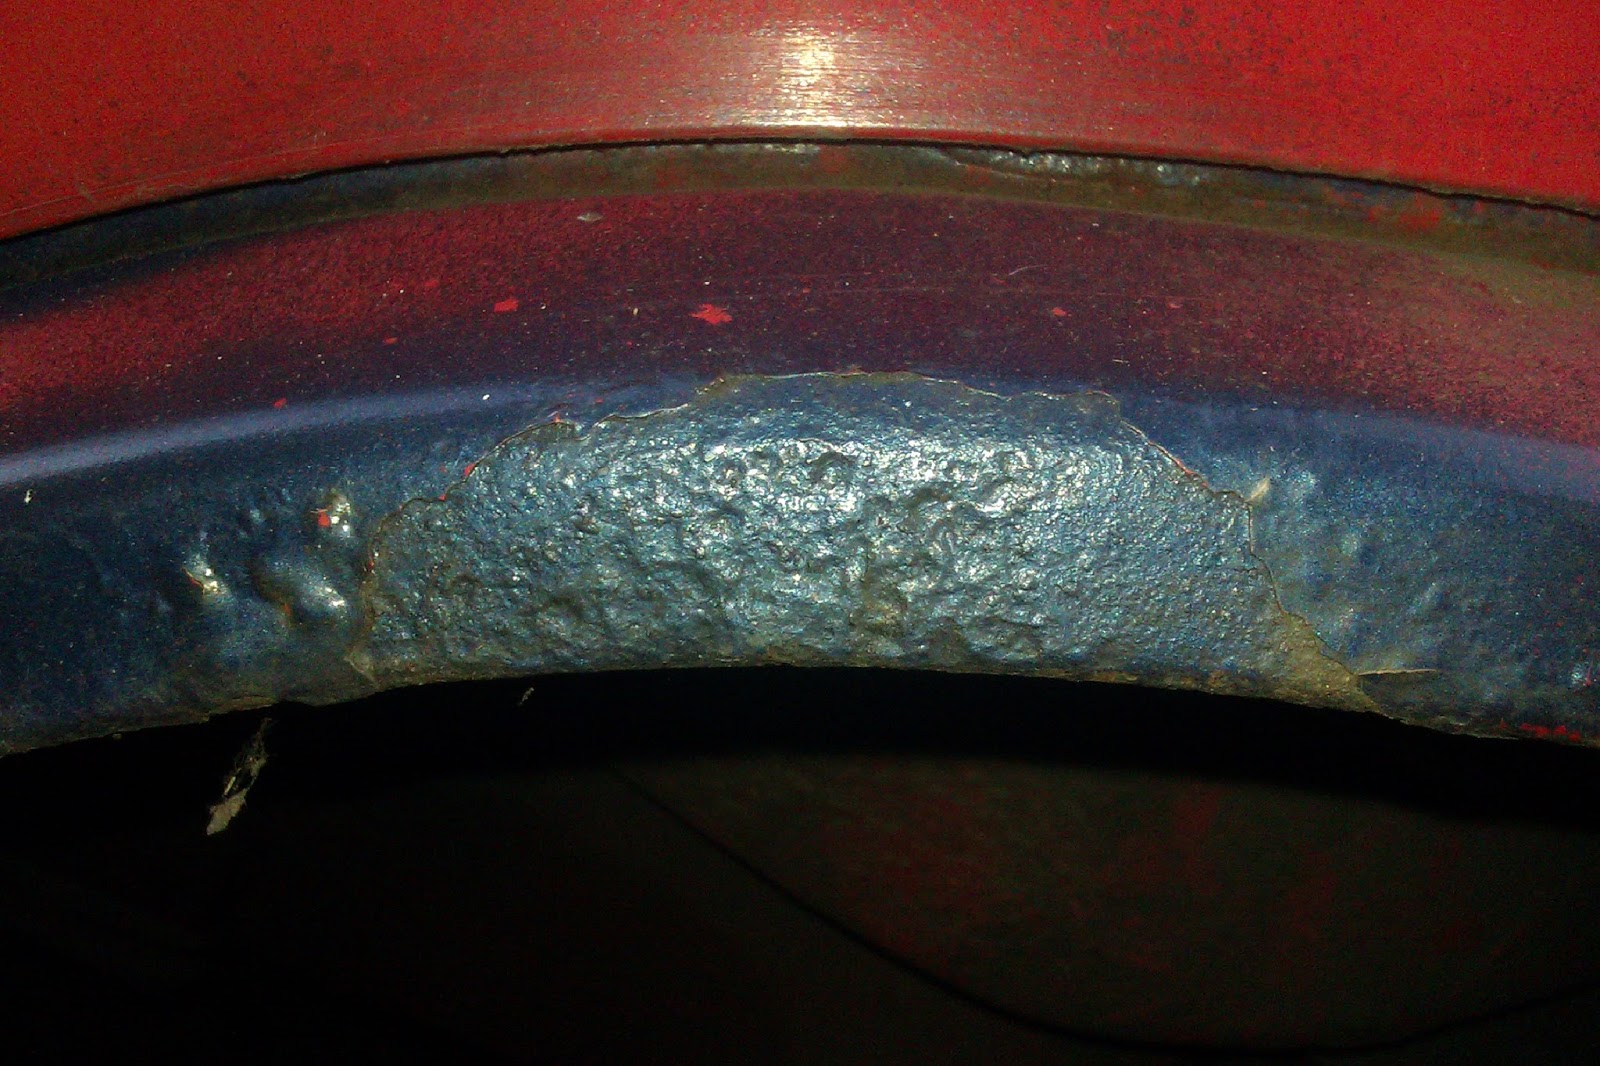
method used: Bang Bang (see pic) but on the right spot (see other pic)


other methods: fork etc will write up later

Take down drop arm
method used: Pitman arm puller (less than £10 online)


other methods: 
Heat drop arm around shaft (risk! Not so much as to melt seal inside).Hit both side of drop arm with similar lump hammers.
will write up later

Get caps and empty containers ready to stop and deal with oil spills.
Unscrew 2 pipes from box (from reservoir and from high pressure supply pipe), leave short pipe on as it’s connected to box only. Leave to empty itself.

In cabin, remove dashboard part under steering wheel (and around ignition barrel?).
In engine bay, put steering column to straight and mark placement of shaft with steering column coupling shaft to remember (I use tipex corrector) [check manual around this issue as I think it can be worked out in some other way when refitting but always good to make marks in case it helps] and remove completely pinch bolts from steering wheel shaft.


In cabin, support the steering column and remove the 2 nuts and plate that hold the column (note that here you might have to remove a plastic part that connects the shaft to the body where it goes through to the engine bay. I think I read it’s recommended to do this before removing the nuts and plate - it’s broken and missing on mine so I didn’t have to). No need to disconnect any but watch out for cables and not to reap any off.


plate/bracket supporting column above


broken bit on mine

steering column coupling shaft out from steering box upper shaft (above)

Pull shaft up until about 3/4 inches are left on engine bay side (or whatever is enough to get steering column coupling shaft out).
Disconnect the high pressure supply pipe from the engine crossmember (clips)
SUPPORT THE ENGINE PROPERLY (see manual and pancake story at beginning of this post)
and undo the 2 bolts and  the plate at bottom of steering box.


Remove 3 bolts holding steering box.

Remove the vacuum pump (very easy 1 bolt, 1 hex bolt)


Getting the box out.
Method I used:
Get a copper hammer (thanks Tony Norbury for this and many more tips) and hit at the bottom of box on the side facing the back of the van.


That should rotate the bottom of the box upward toward the front of the van
so you can access the 2 bolts of the box lower mounting fixing where the crossmember was connected.

At the start I did hammer the box down from the top, hitting on the place where the hole for the right hand top bolt was (when still in place) This made it rotate a bit more but not that much and it was noisy, exhausting and not so efficient so I came up with the following solution.


This is what I called the Gap of Hope. The rotation started showing some progress. and my biceps to cry.
Also the lower little white arrow show where I was hitting to rotate the box in the opposite direction.

Get a L-shaped bracket (thick metal) with a hole of similar size to bolt. The shortest the short side of the L shape is the better I reckon, and the longest the long side is best too but not crucial as it can be extended.
You should also find a short bit of metal with similar thickness to even up pressure from the side of the other bolt - so as not to bend the original plate.
Bolt this bracket and the short bit under the plate where the crossmember was.


You have made yourself a lever and you can now rotate the box indefinitely until it comes out.
Lubricant where/when possible helps. There was quite some rust around mine.


You can remove the box one out from under through where the vacuum pump was.


Think the box outside.
Done.
Amazing power of the mind.

Many thanks to all from Club LDV who have helped with ideas and suggestions all throughout.

Now for the refit...